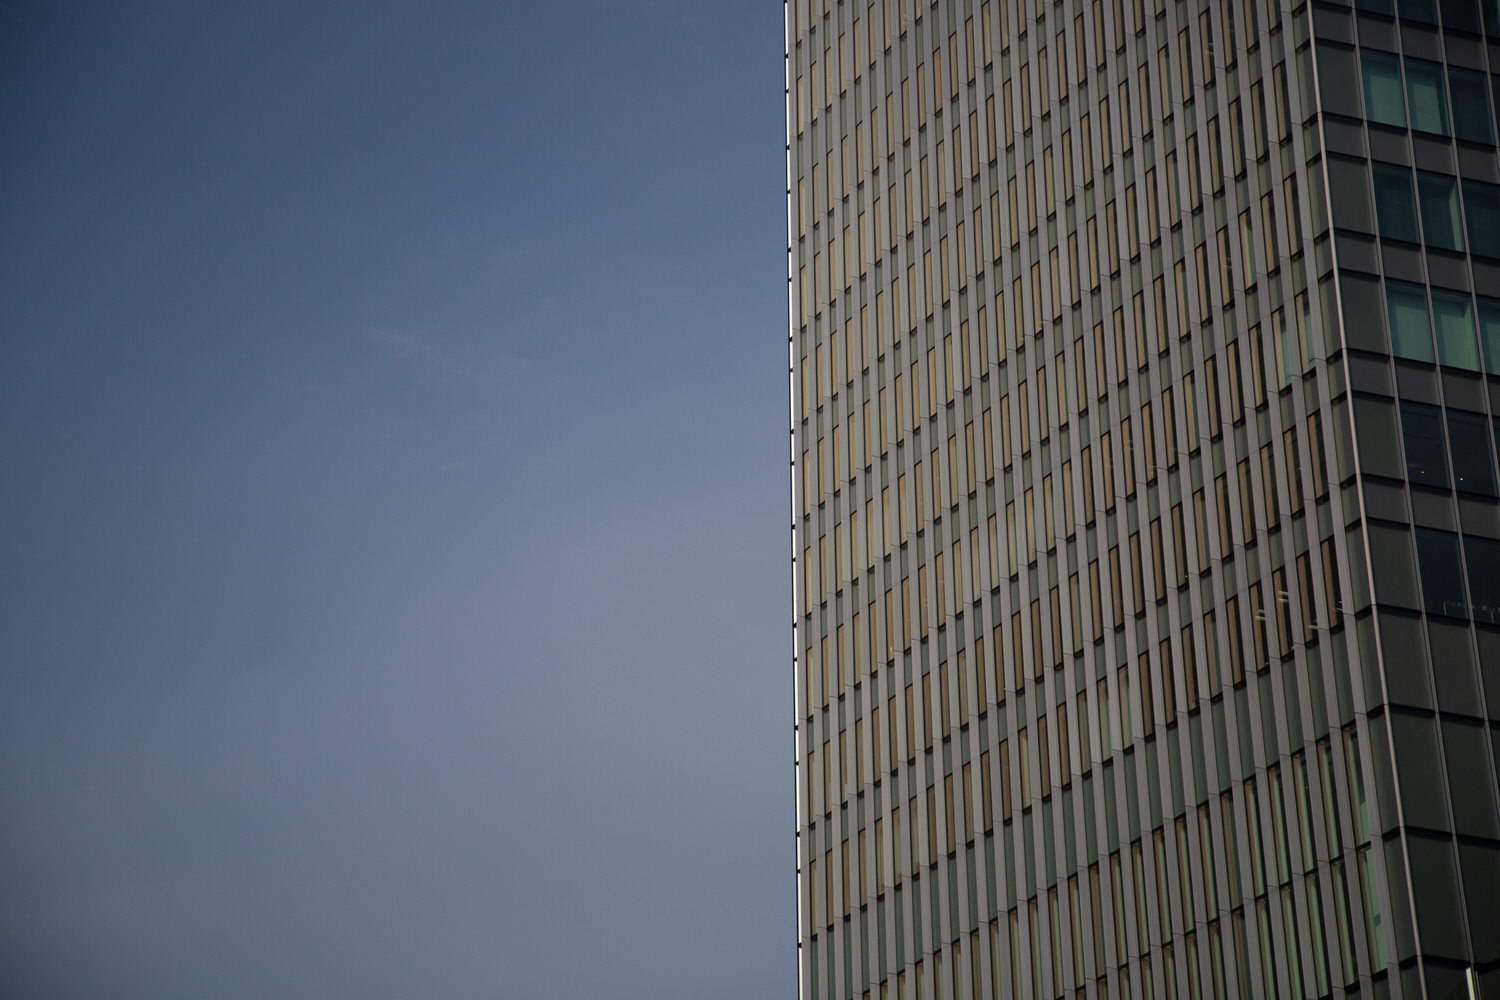
How to edit photography – this photo sucked!
Matthew James Oxlade
Sometimes when you take happy snaps, they are good enough, but are they photographs? I’m going to be spending a bit of time running through how to edit photography in the hopes it helps you edit better.
It’s easy to rely on free Lightroom Presets to help get your photos up-to-scratch, but transforming your photos is so much more than a one-click solution. Don’t get me wrong, there is a time and a place for the use of Lightroom presets – but there is nothing more fulfilling than knowing how to edit yourself.
Lightroom presets are great for getting started with a look. You need to know how to tweak it a look to make the most of a preset. If at the very least you learn how to tweak your own presets, this video series will be well worth it.
This photo of Tokyo sucked
It’s ok, it did. It was lifeless and that’s okay. We can fix it. Check out the video above, ‘How to edit photography – this photo sucked!‘ and find out how I edited it.
Or check out this before and after of the photo:


Subtle differences can make a big difference. In the video you’ll see how we treat each colour as an individual. Taking your time and moving from top to bottom in your Adobe Lightroom Develop module will help you make sense of the photo editing process.
If you’re looking for another editing tutorial, check out my macro photography editing tutorial of a dewdrop.
Still too lazy to learn how to edit photography?
That’s ok, don’t feel bad. All the edits I made to this photo is also available as Lightroom Preset. Download the Lightroom preset here.