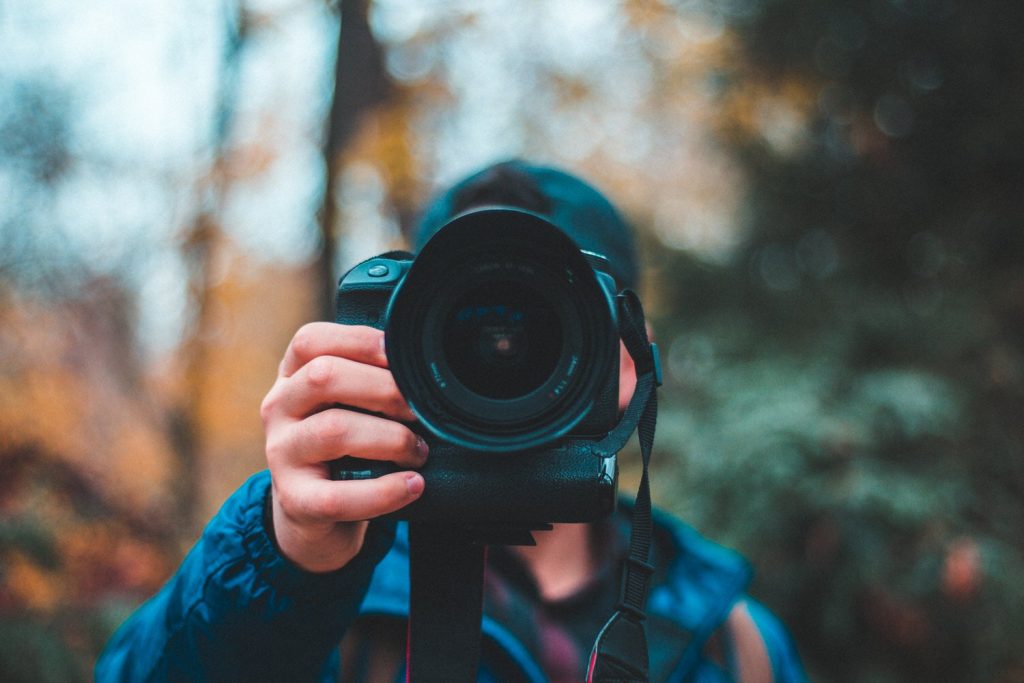
Why are my photos not as sharp as other photographers?
You can take a great photo, but it doesn’t seem to be as sharp as one of your favourite photographer’s photos. Why? Is there a secret to it?
Matthew James Oxlade
You can take a great photo, but it doesn’t seem to be as sharp as one of your favourite photographer’s photos. Why? Is there a secret to it?
There’s a bunch of common mistakes emerging photographers might be making if they feel their photos aren’t as sharp as they feel they should be. You might be quick to blame your camera or your lens, and while gear does impact the sharpness of your image, you almost always need to apply some kind of post-processing to make your image as sharp as they can be. And you always need to clean your camera lens.
why are my photos not as sharp, and what is sharpness?
The sharpness of an image is different to blur. Occasionally you’ll take a blurry photo because you’ve misjudged the shutter speed or something different happened that impacted the clarity of your photo. It’s inevitable, so don’t get discouraged. It’s worth reflecting on every image that didn’t work out and ask yourself, ‘What could I have done differently to make this photo worth editing?’.
Given mistakes are inevitable, you are probably reading this because your images are not sharp more often than they are crispy sharp. Let’s dive into why your images might not be as sharp as you want them to be.
Your ISO is dulling your image
Just because your camera offers an ISO range up to a certain number doesn’t mean it’s practical at those levels.
A higher ISO number will allow you to use a faster shutter speed at narrower apertures, but at a cost. Every notch of ISO you increase by, the more ‘noise’ or grain is going to appear in your image.
This noise softens the image by hiding the lines you have in the image.
Keep your ISO as low as possible (ISO 100 – ISO 400), and no higher than ISO 3200. I have photographed bands at ISO 6400 but have had to do a lot of work in post-production to increase the sharpness of the image. If you don’t need a high ISO, avoid using one.
Aperture is too narrow
What the hell is aperture? It’s depth-of-field, isolating things so they are in focus and other areas of the image are out of focus.
If something is out-of-focus, it’s going to leave you with a very soft image. Some of your image will be sharp, but because you have used the wrong aperture for the purpose, you’re going to find that only a portion of your image is in focus.
Portrait photography uses a wider aperture like f/2.8 in most cases. The photographer wants to isolate the subject from the background, so a narrow depth-of-field can be used. However, if your aperture is too wide, your in focus area will be far too narrow. In cases where you’re using a very wide aperture like f/1.8 or even f/1.4 (or insanely, f/1.2!) you might find that only a portion of your portrait subject is in focus. If you focus from the nose, deeper aspects of the face may be out-of-focus, such as the eyes.

Contrary to that, if you are photographing landscapes, a wide aperture will only cause you problems. Landscape photos have everything in focus. You’ll want to use an aperture of f/8 or narrower to keep all the details of the landscape in focus.
Understanding aperture and how wide your depth-of-field area is will help you keep all important areas of your images sharp as a tack.
Crappy photography gear or poor technique
Look, there are some bargains out there for photography gear. However, tripods that are not built to hold the weight of your camera setup, using a flimsy tripod in windy weather or moving during exposure while using a monopod are all recipes for disaster.
There are things you can do to help stabilise your photos even further when using tripods or other stabilisation gear.
- Use sandbags or weights to keep the tripod steady
- Use the two second timer to get your hands off your camera before the shutter fires
- Make sure your camera is fixed to the Monopod or tripod fully
Shutter speed is too slow for what you’re shooting or shooting with
Last, but definitely not least, is simply your shutter speed. Shutter speed is generally the biggest reason your photos aren’t seeming as clear as you want them to be. Sounds pretty straightforward as an issue, right? Not so fast. There’s a few things to consider within the wider issue of just ‘my shutter speed is wrong’.

Is your shutter speed fast enough to freeze the subject?
Is it? I don’t know. I want to help you, but I don’t know what you’re photographing. There are some hard and fast rules around shutter speed that you can apply to your thinking when you’re deciding on your shutter speed.
Fast things move fast (duh), so they need to be photographed with a high shutter speed. The longer the shutter is open, the more movement is going to be captured. That means that if you’re photographing a race car, it’s going to move while the shutter is open, blurring the subject. You want to increase the shutter speed, decreasing the exposure of the subject so the action is frozen in time.
Photographing something that holds still, in situations like a corporate headshot, you can use a much slower shutter speed because the subject won’t be moving (enough to make a significant difference).
This is why you need to consider the shutter speed you’re using for the situation that you’re in. Faster is always safer, but you might not have that luxury if it’s in a dark environment or at night. You can use a wider aperture or increase your ISO to allow you to use a faster shutter speed.
Shaky hands
We’re not all surgeons, and our hands shake to varying degrees. Mine shake a lot but that’s the coffee. Some lenses have some kind of image stabilisation or vibration reduction. These are a nice luxury to have, but I don’t rely on the technology to remove any signs of shaky hands.
There’s a simple rule around choosing the shutter speed to offset any natural shaking of your hands. The rule that is said is to use a shutter speed that is the same as the length of your lens’ longest focal length. If you’re using an 18-135mm lens, then your shutter speed should be at least 1/200.
However! I like to play it safe because there’s nothing more disappointing than having a photo that is blurry and you can’t turn back time to fix it. For this reason, I double the required shutter speed in the rule.
Using that same example, with an 18-135mm lens, I would use 1/400 of a second instead of 1/200 of a second. It makes me feel a little more confident that my hand shakes and other natural vibrations are going to be factored in, leaving me with a nice clear image.
Of course, it’s up to you. You’re probably here reading this article because you asked yourself, ‘why are my photos not as sharps as others?‘ I would suggest you give my rule of doubling your focal length a try first. It solves most issues!