How to redirect a lot of links to your new website
Matthew James Oxlade
What we’re going to do
Part of setting up Matt, Simplified is to migrate data from one WordPress website to another website. If I kept the content at the old location and made it available on this website, there’s a risk of being penalised by Google for duplicate content.
In this tutorial, I’ll show you an efficient way of bulk uploading redirects that send all website hits to my old Lightroom Presets website (lightroompresets.com.au) to their new URL here on Matt, Simplified (mattsimplified.com).
Process to redirect a lot of links
Ok, let’s get started in our journey to redirect a lot of links in our website without much hassle.
Step one: Install redirection plugin on your old website
The redirection plugin I use for bulk redirections is called Easy Redirect Manager. It’s not the best redirection plugin for general day-to-day use, but it has the best bulk upload option and makes it really easy.
Step two: Download the sample spreadsheet
Download the sample spreadsheet from the Import/Export Redirect Rules tab in Easy Redirect Manager’s configuration screen. If you can’t find the configuration screen, it’s located under Settings > 301 Redirects.

Open up the CSV file and you’ll find an ugly start to your solution that looks a bit like this:
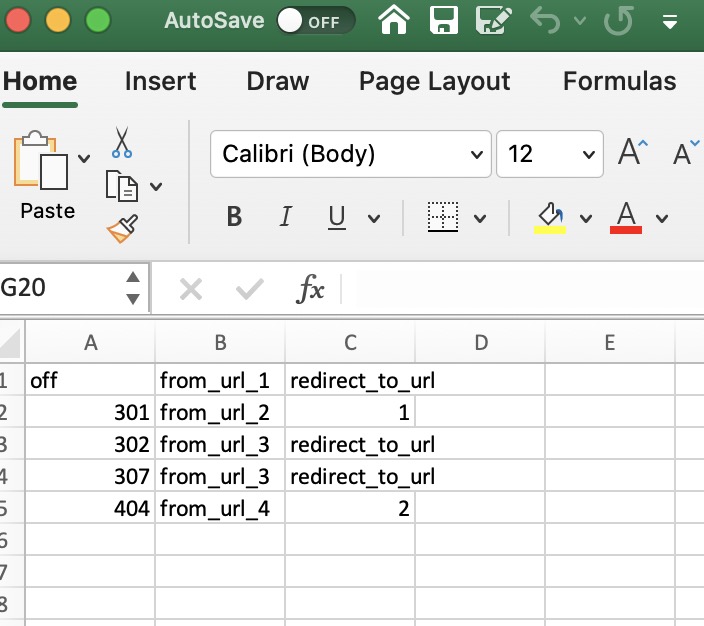
It’s ugly but we will fix it. This is just the easiest way to make sure we get the formatting correct for the upload.
Step three: Gather your new URLS
We need to gather all of the new website’s URLs and the old website(s) URLs we want to redirect to. Don’t go and copy and paste them one-by-one, there’s an easier way.
Use a scraper like XML Sitemaps to extract all of the URLs of a website. It collects your blog posts, products and page URLs just by inserting the main domain in the text box.
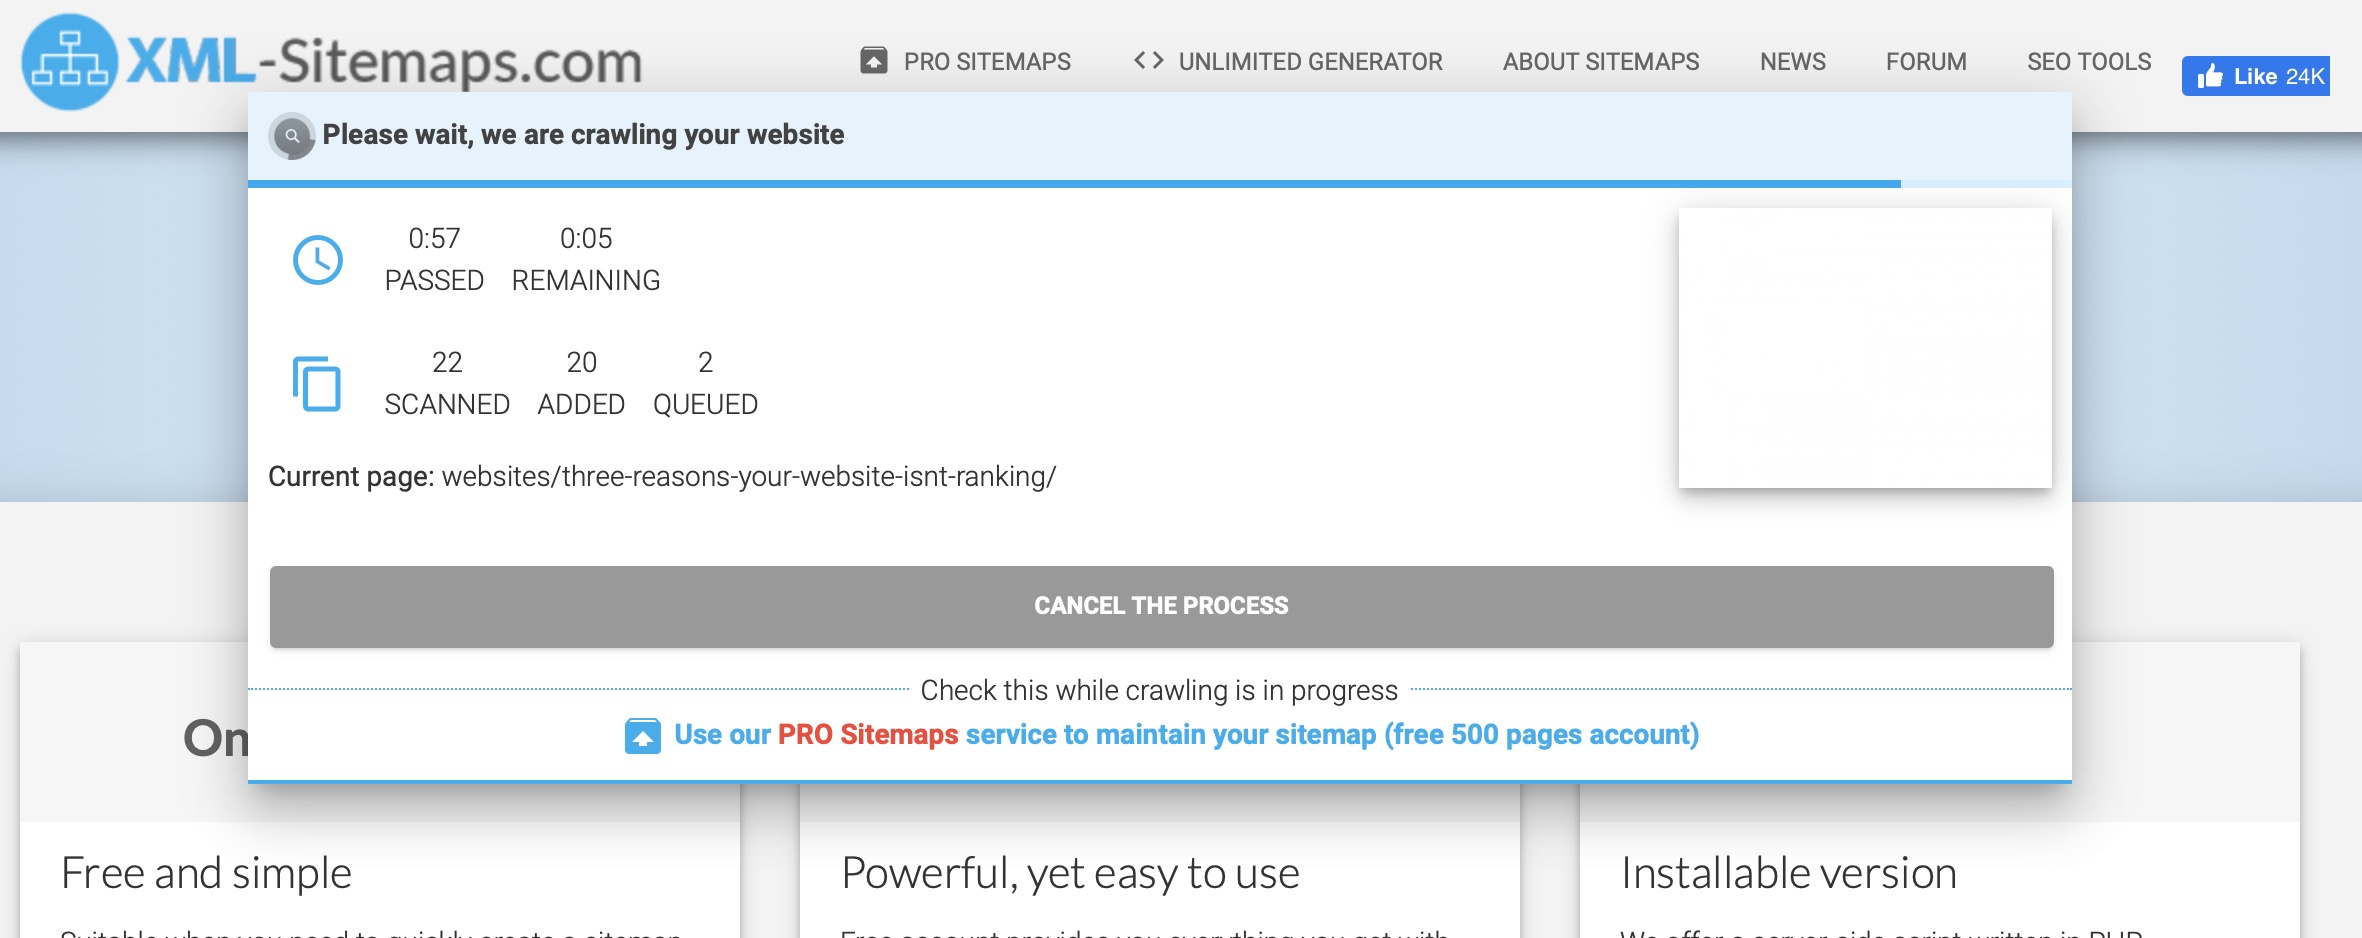
Once it’s done scanning the site, it will show you all of the URLs like this:
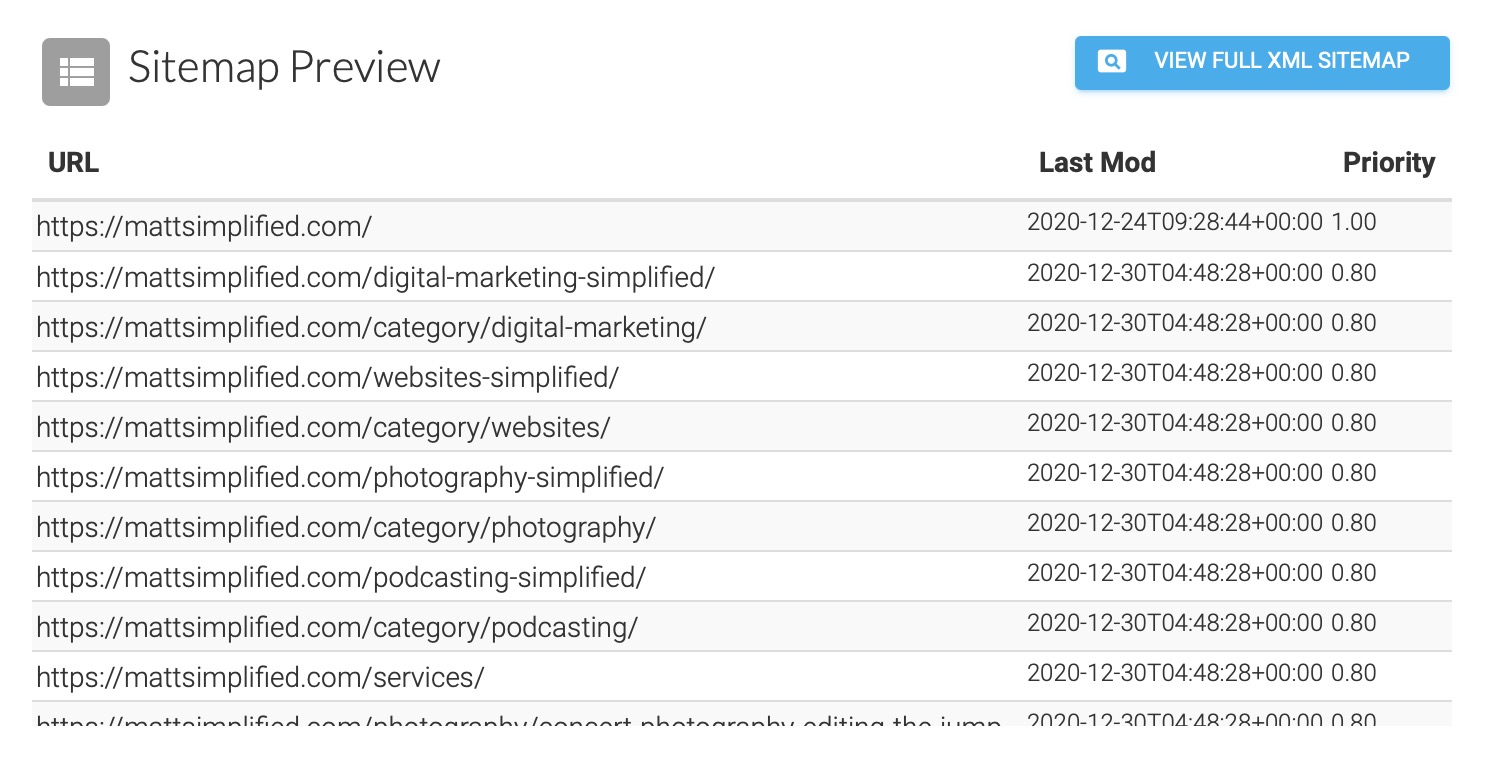
Copy all of that data to your clipboard for the next step.
Step four: Paste the URLs into the relevant column
We need a temporary space to copy our URL data to preserve the example data we downloaded from Easy Redirect Manager.
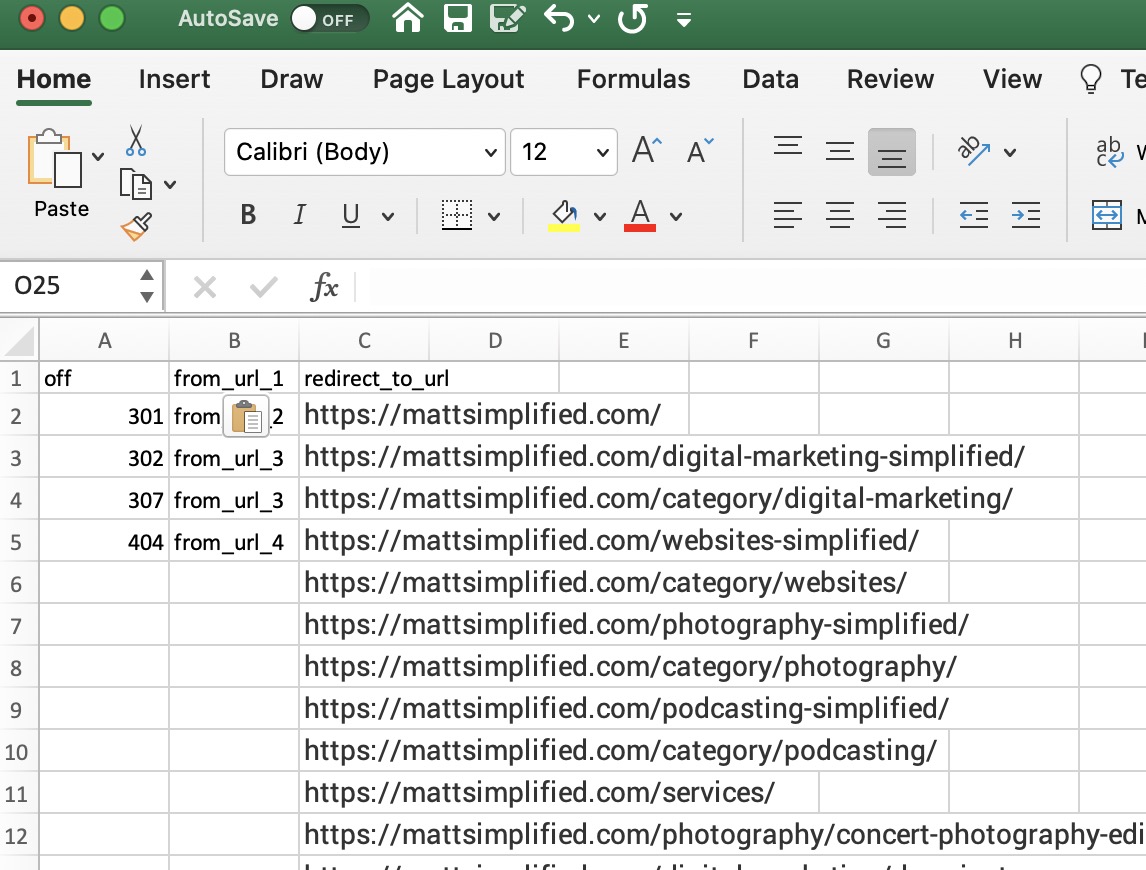
Create a new sheet at the bottom of your example redirection CSV you downloaded earlier from Easy Redirect Manager. Paste the URL data into the new sheet, copy the URL column only into the relevant column in the first sheet/tab.
Delete the data from the temporary sheet you created, but keep it so you can use it for the next step.
Step five – Match the URLs and format CSV for upload
Run the XML Sitemaps process you ran in the previous step on the website you want to redirect from. Dump all of the URLs into the temporary sheet like you did on the previous step.
Cut and paste each URL to the from_url_1 column against the URL you want to redirect to.
Delete any rows that have an empty cell in Column B.
Copy 301 to each cell in Column A for each row that has a data.
Once done, it should look like this:
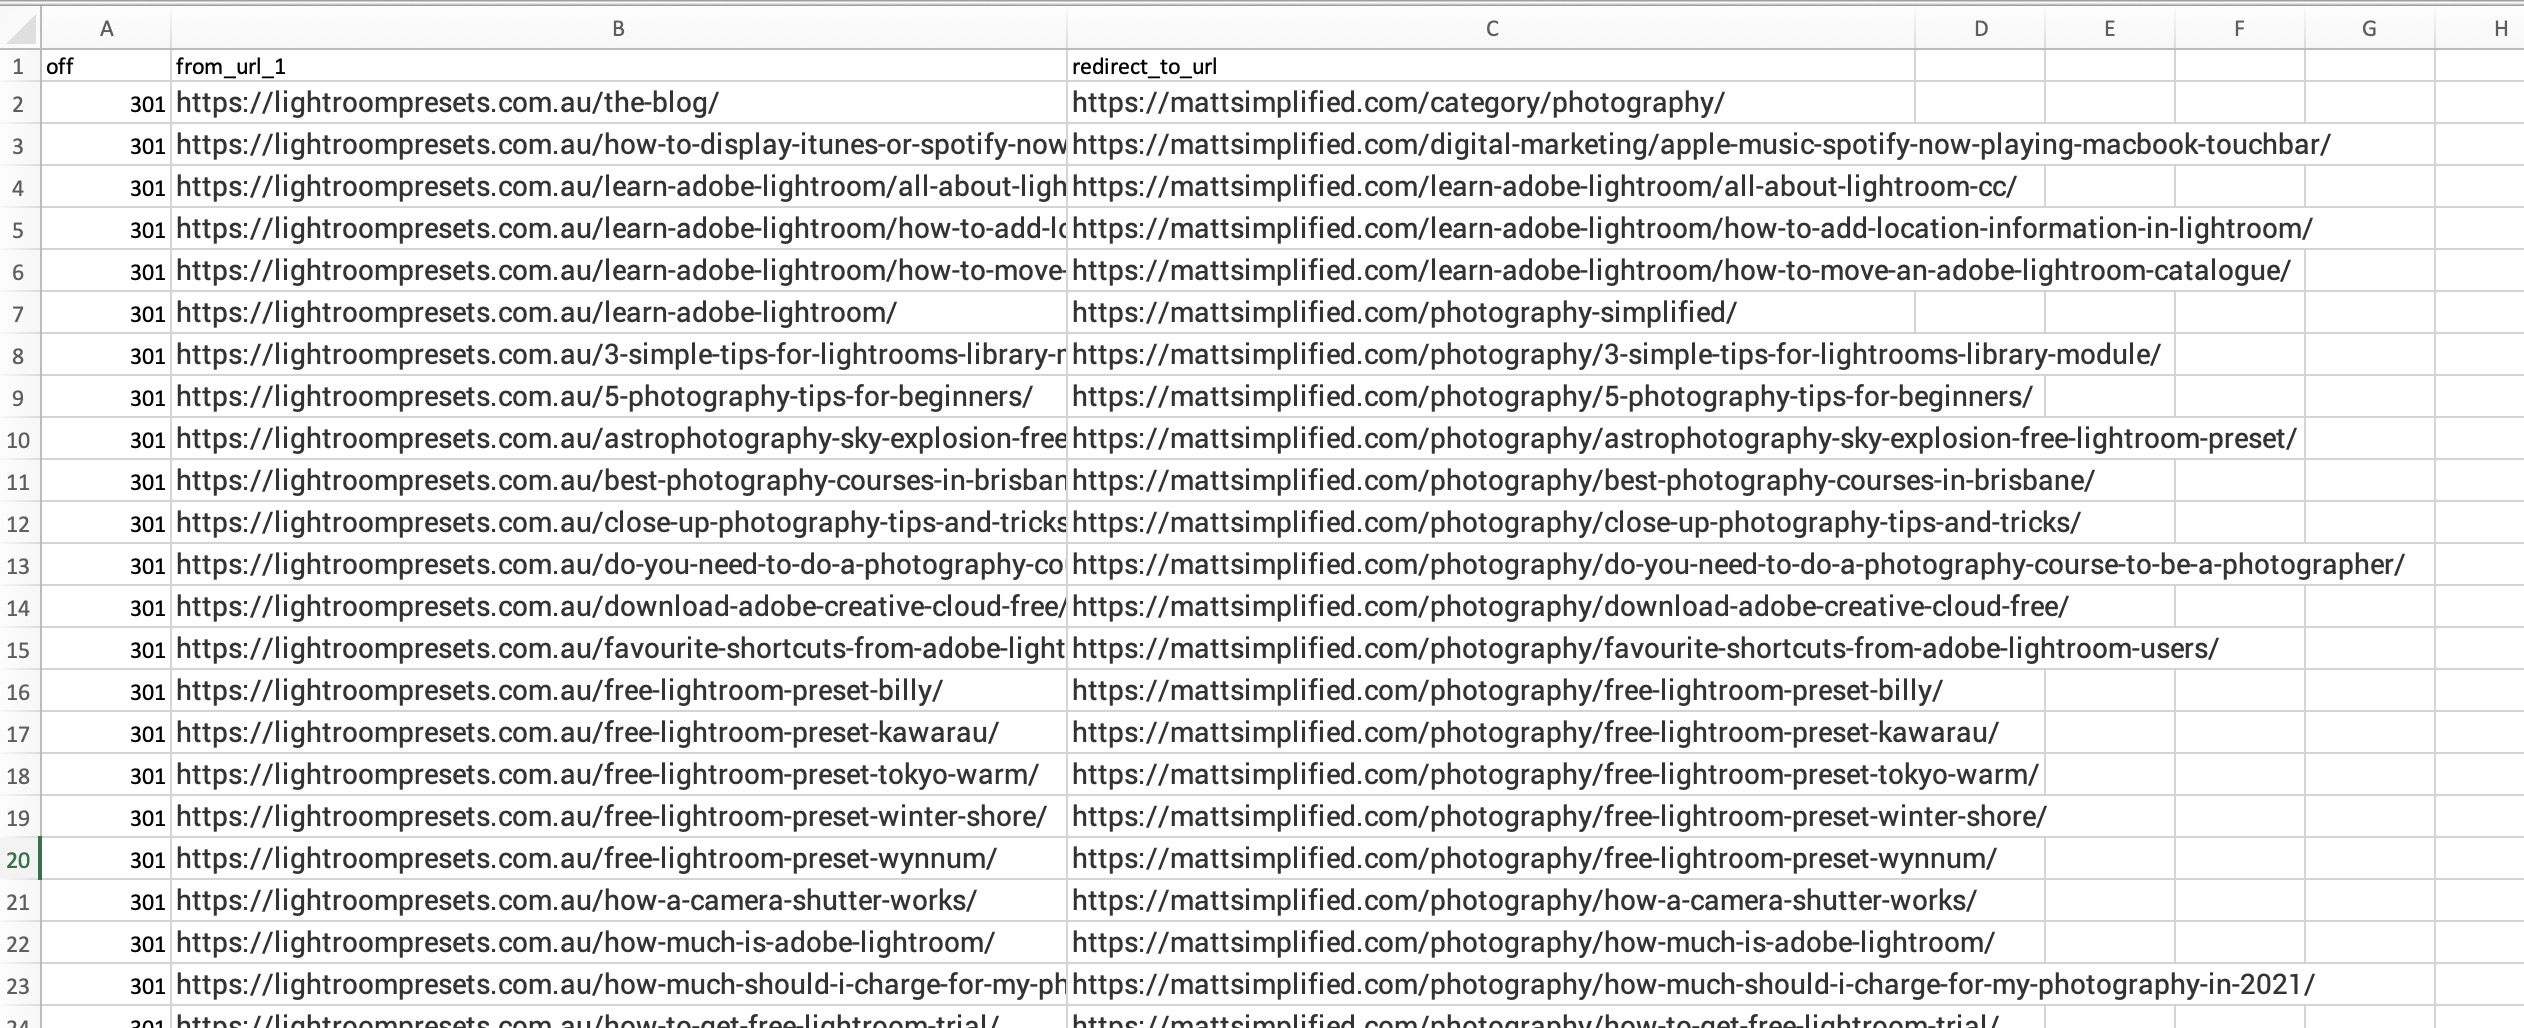
Save your CSV as whatever you like. I’ll call mine lightroompresets.csv so I know it’s the redirects from lightroompresets.com.au.
Step six – Upload the CSV to the old website
Go back to the Easy Redirect Manager configuration where you downloaded the example CSV from, and upload your completed CSV.
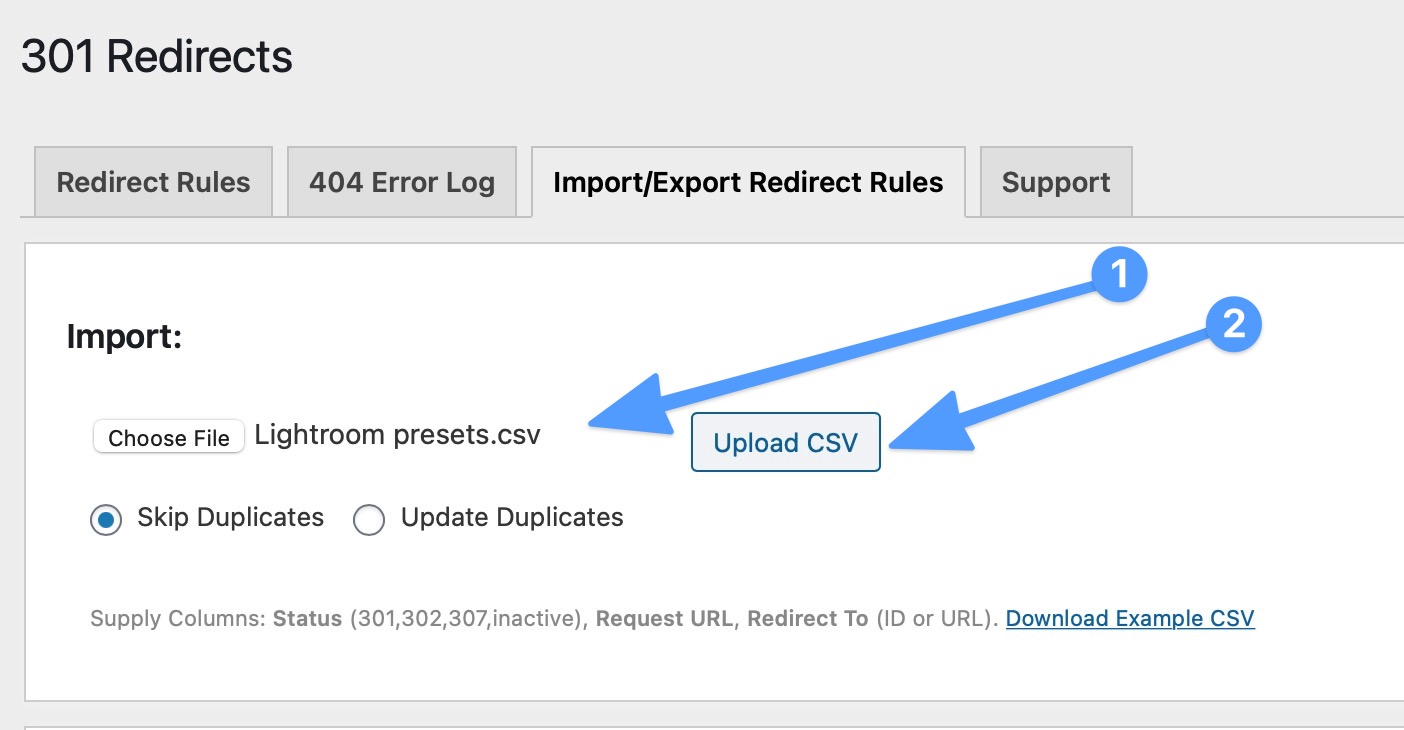
After clicking ‘Upload CSV’, it should almost instantly show something similar to this:

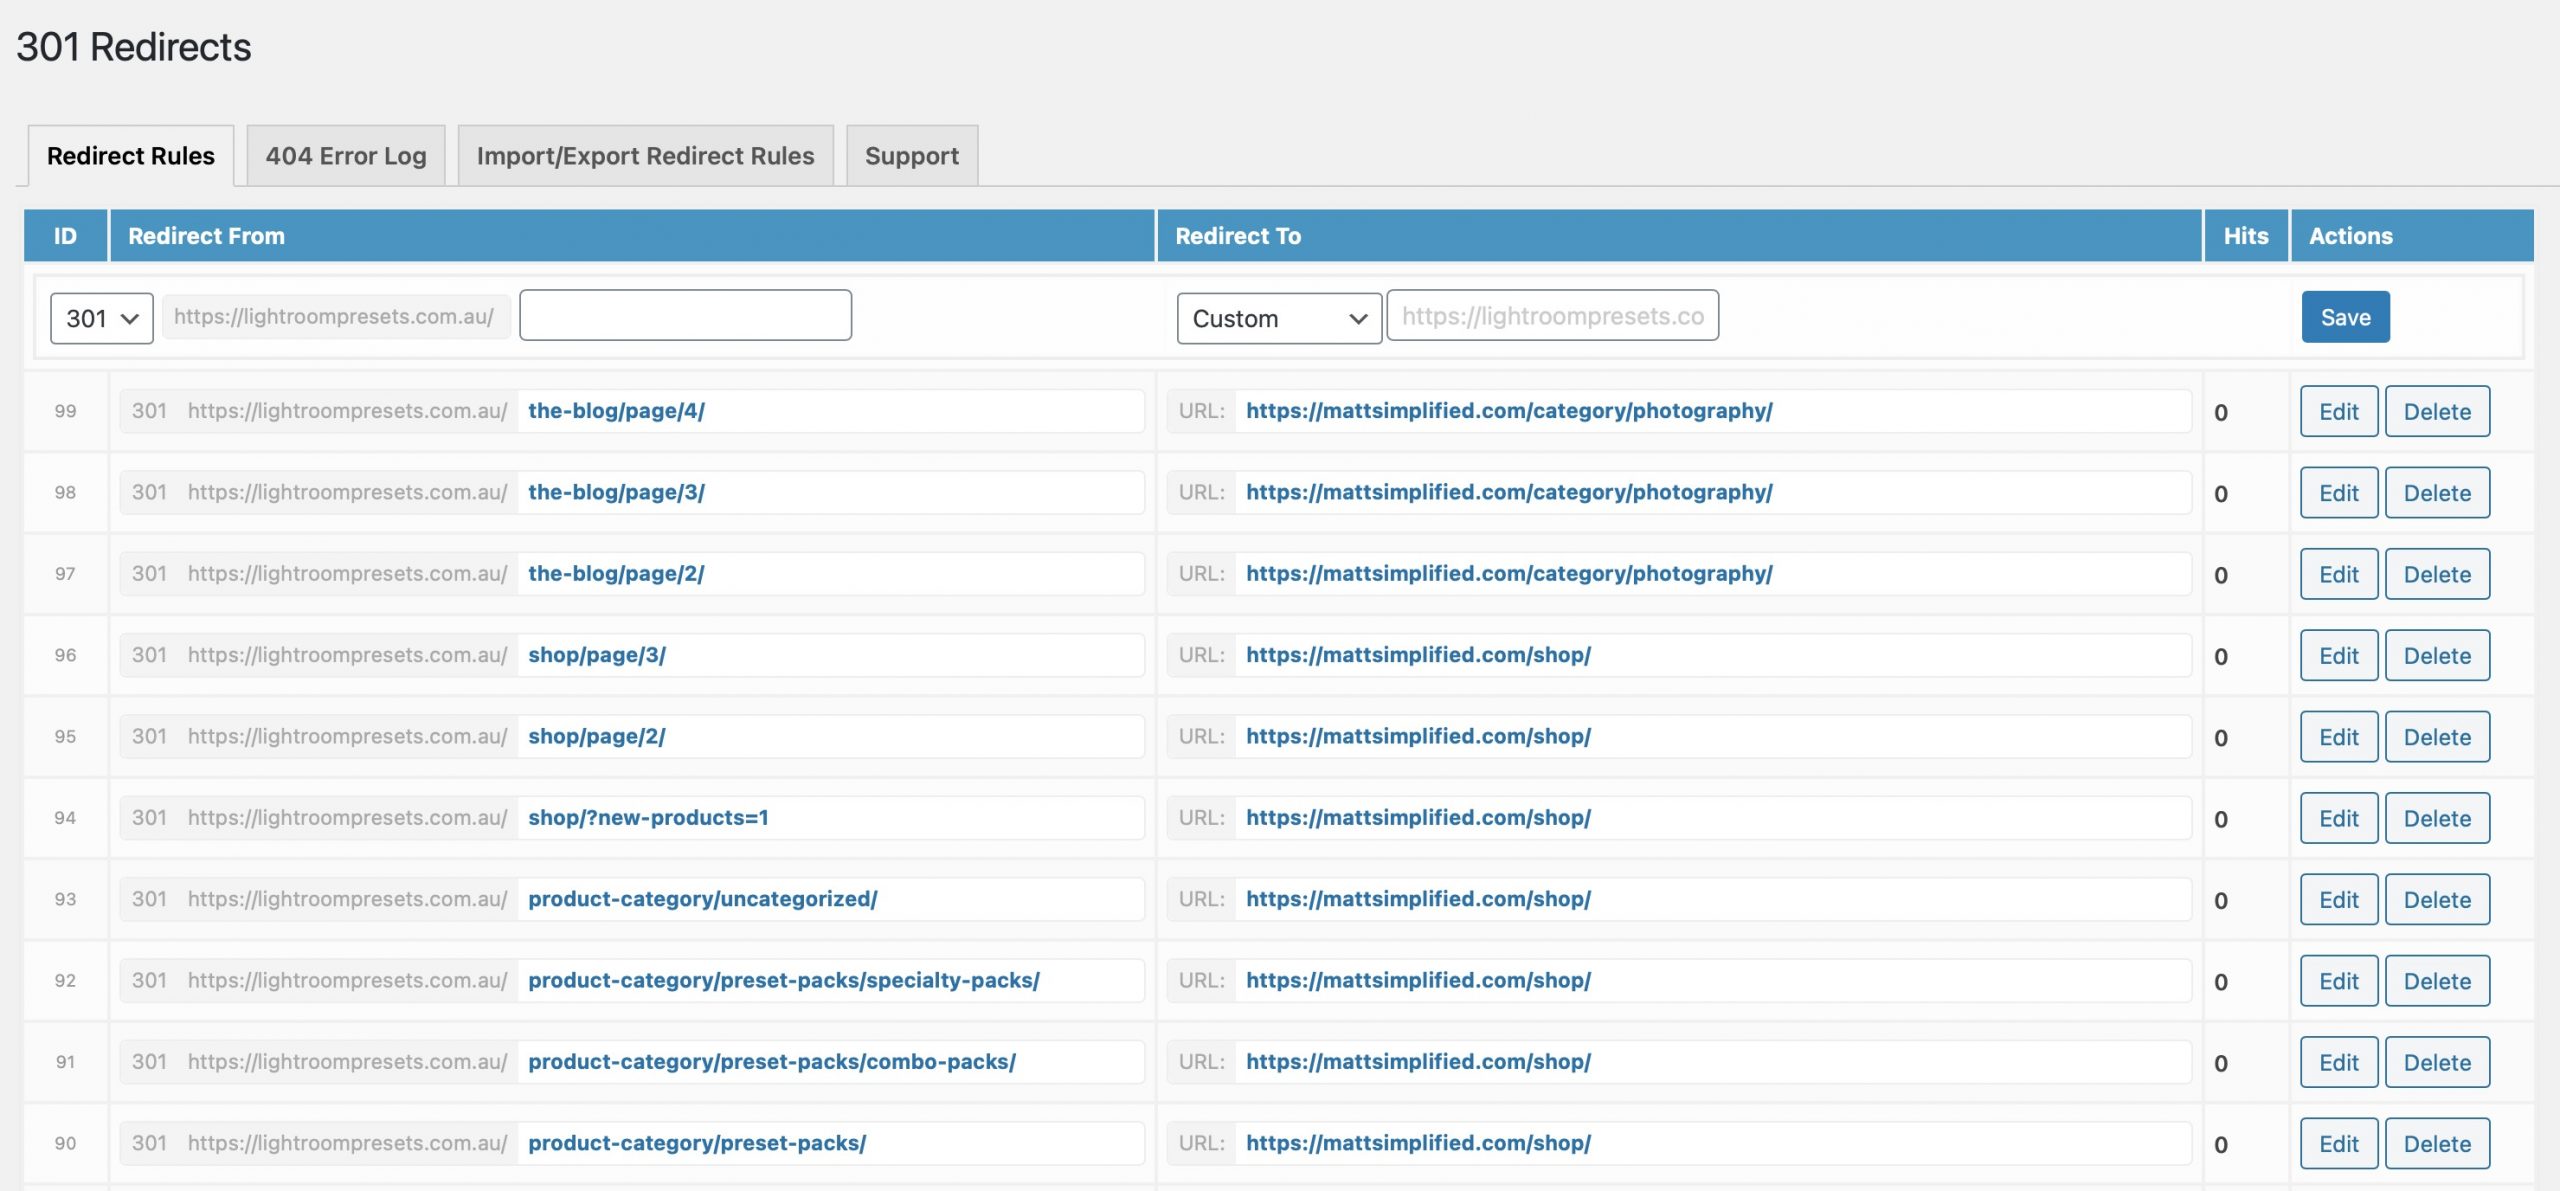
Navigate back to the first tab and you’ll see all the redirects you imported and now should be working:
Check it’s working
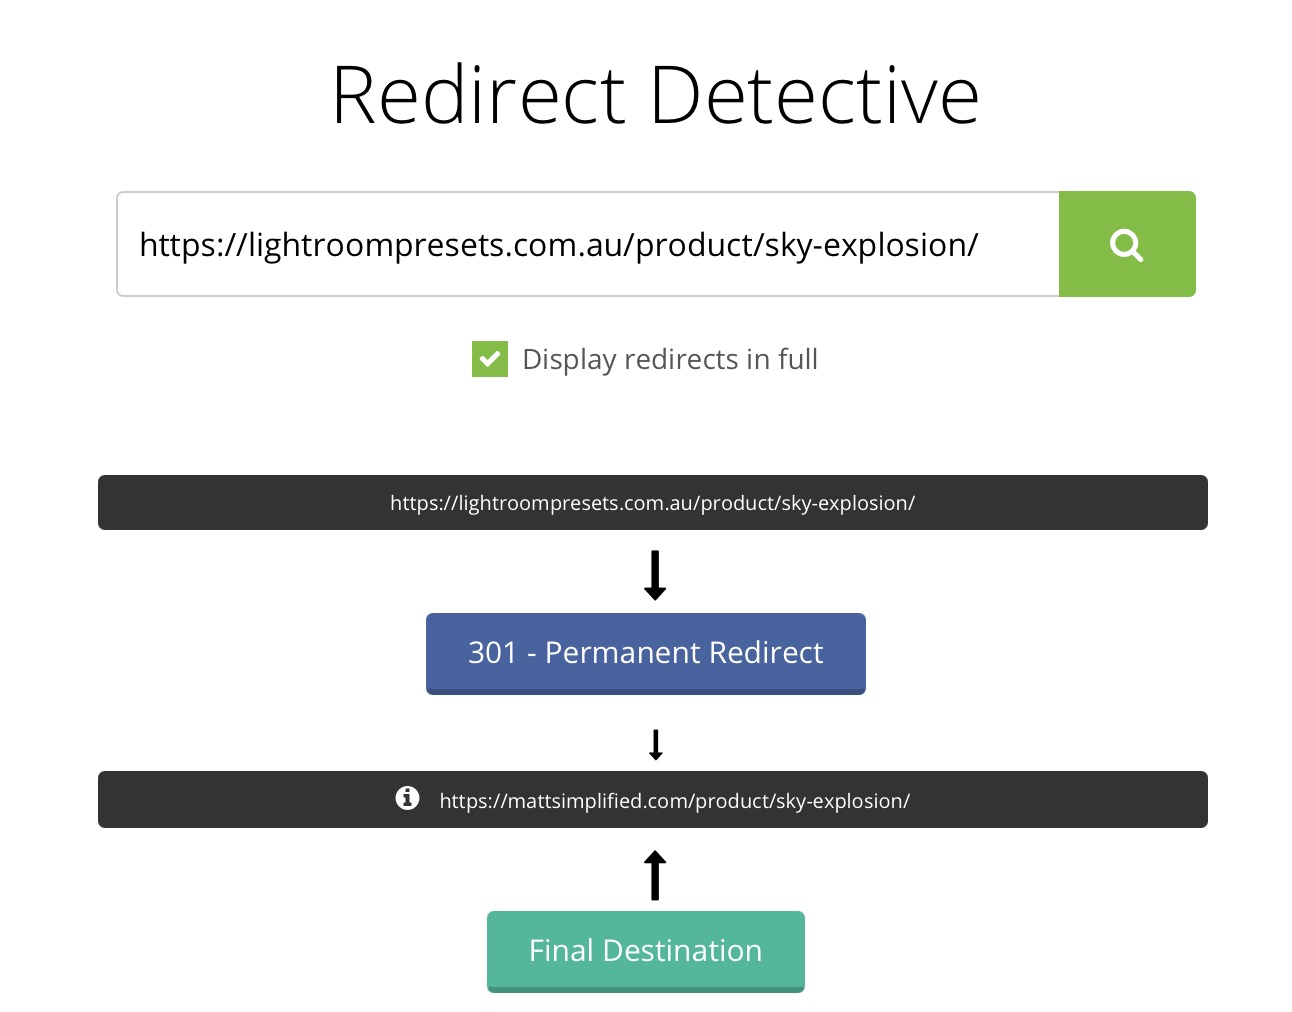
You can click on any of the links to see if they go to the correct, new, location. To demonstrate, I’ve used Redirect Detective to visualise the working redirect:
And that’s it! You’ve just completed the mission to redirect a lot of links! Pretty easy, eh? Still, no one wants to do it more often than they need to, but good to know it’s easy to do it you ever need to redirect a lot of links in the future.